5.9 KiB
5.9 KiB
Notes on Lesson 05 - Blending Modes | PiXimperfect
Links
- TOC | Photoshop for Beginners
- Downloadable Practice Files
- Curr: https://youtu.be/doI1eH_nCxs?si=BcvG_GWkiw14l492&t=1193
timestamps
- 00:00 What are Blend Modes?
- 01:07 Important Announcements
- 01:27 Most Important Blend Modes
- 01:45 Normal Blend Mode
- 05:08 Multiply Blend Mode
- 06:30 Darkening with Multiply
- 09:12 Multiply - Example
- 12:02 Screen Blend Mode
- 13:02 Brightening with Screen
- 14:03 Screen - Example
- 17:21 Overlay & Soft Light
- 19:16 Contrast with Overlay & Soft Light
- 19:49 Overlay & Soft Light - Example
- 21:18 Color Blend Mode
- 22:50 Color - Example
- 25:36 More Blend Modes
- 25:47 Quick Recap
Notes
what are blend modes
-
control the way layers interact with other layers
file:../_share/media/img/photoshop-beg-piximperfect/lesson-05/ex-01.png
file:../_share/media/img/photoshop-beg-piximperfect/lesson-05/ex-02.png
some qualities
- screen makes things brighter
- multiply makes things darker
normal blend mode
- default blend mode (usually)
- keeping the picture on top of another picture
when is normal not default?
- when you create a group the default is "pass through"
- to apply all group filters to within the group change it to 'normal'
multiply blend mode
- multiply darkens
- ignores white
- multiplies dark onto image
- keeps the black and hides the white
technique 1
- duplicate an image
- set it to multiply
-
change blending option
- take away from the dark
- find current layer slider
- hold OPTION key, click on slider to break it apart
- problem is that if you change the underlying image, you have to change the multiply image
technique 2
- find an adjustment layer that changes nothing by default
- set it to multiple
- it effectively acts as a duplicate image
screen blend mode
- opposite of multiply
-
brightens
- black hides, white stays
using screen for brightening
- create a levels adjustment layer
- change the adjustment layer to screen
-
if the sky for example is too bright
- open blending
- go to underlying layer section
-
move the right slider to the left
- split it apart using the OPT key
overlay & soft light
- pretty much same thing
- different intensities
- they increase contrast
overlay
- hides 50% gray
- anything brighter than 50% gray, becomes brighter
- anything darker than 50% gray becomes darker
soft light
- same thing but lower intensity
example 1 | soft light
link: see example-03.psd
- create an adjustment layer that does nothing (ie curves)
- selecte and apply adjustment layer to the image
- then go to the blending mode and select overlay
this applies contrast to both dark and bright
example 2 | overlay
link: see example-04.psd
- add texture jpg by dragging and dropping over the canvas so it adds as a layer
- use SHIFT to increment rotation by 15 degrees
-
select the background layer with the subject and background
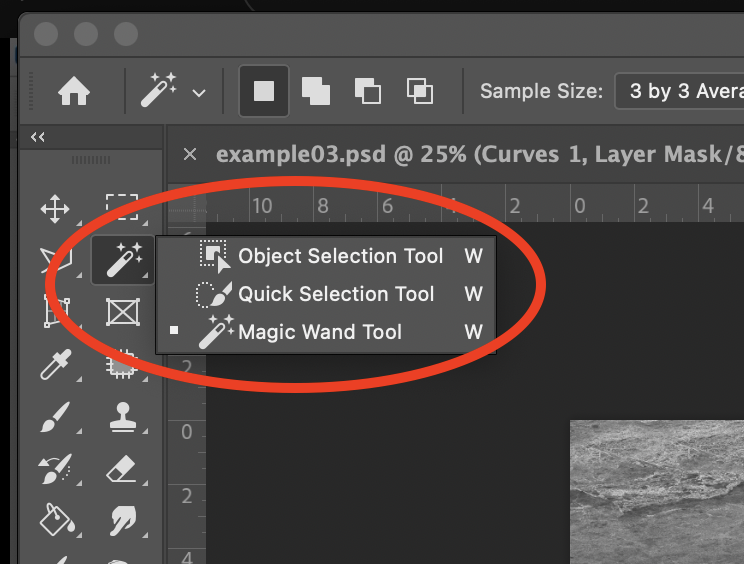
- select the any of the three selection buttons
- click 'select subject'
- NOW SELECT THE TEXTURE LAYER (you are masking out the subject on the texture)
- hold ALT/OPT key and click on mask layer to get a mask of everything NOT in the selection
-
change blend mode on texture layer from 'normal' to 'overlay'