6.3 KiB
Notes on Lesson 04 - Layer Mask | PiXimperfect
- Links
- Downloads
- Notes
Links
timestamps
timestamp
- 00:00 What Are Layer Masks?
- 02:58 Important Downloads & Announcements
- 03:29 Why Use A Layer Mask?
- 03:47 Reason 1: Non-Destructive Abilities
- 07:54 Reason 2: Compatibility with Non-Raster Layer
- 11:26 Linking & Unlinking Layer Masks
- 13:33 Turning Off and On
- 14:28 Mask Properties: Feather
- 17:41 Mask Properties: Density
- 19:44 Duplicate Masks
- 21:35 Problem with Copying Masks
- 23:37 Double Masking
- 26:44 Image as a Mask
- 28:28 Concept Recap
Downloads
- Practice Files: https://bit.ly/44aHY3c
Notes
the purpose of the mask is to hide parts of the image
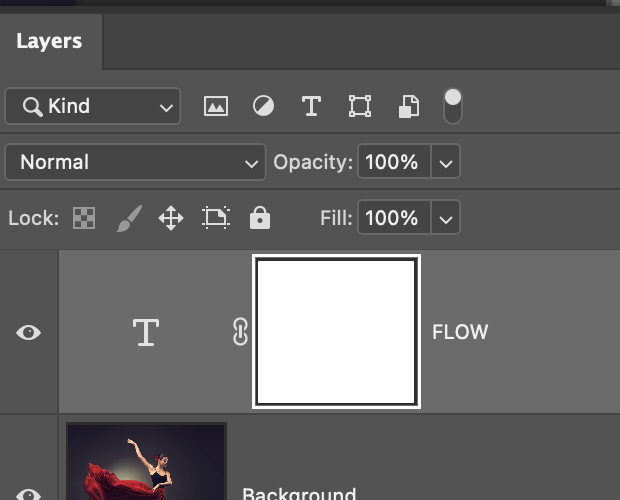
setup a mask
- select the text
-
click on the mask button in the layers pane
-
this will add a white square to the right of the text entry
-
The concept of a layer mask is that
- black areas are hidden
- white areas are shown
so select the layer mask and draw with black on the center panel to hide or show areas
to hide and show the layer mask
- hold the alt/opt key and click on the layer mask
- you can also click on any other layer, or outside the layer mask to hide it
reason 1: non destructive abilities
while you can certainly delete parts of an image and putting something else in it's place, you cannot undo that deletion so easily.
- select the area you want to show
- hit the mask button (this will automatically hide everything not selected)
hide the selected area (2 methods)
method 1
- selecte the area you want to hide
- select->inverse
- hit the mask button
method 2
- select the area you want to hide
- ALT/OPT + mask button
compatibility with non raster layer
-
place an image on top of a background
- Photoshop->Settings->General->Always Create Smart Objects When Placing
- the image is going to be selected as a mask
-
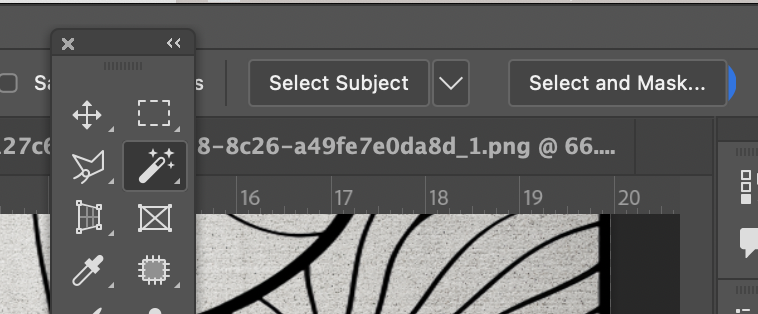
go to the backround layer, select subject the subject
-
note that "select subject will be highlighed"
-
-
return to the imposed layer and create a negative mask
- alt+mask button on layers
-
at this point you can blend the layers if you like
- double click top layer, you'll open to blending options
-
move the sliders in underlying layer to get what you want
- if you hold down the ALT key, and hover over the slider, you can split and drag it
linking and unlinking layer masks
if you want to move the pattern around, you'll see a problem of the mask moving with the pattern.
this applies to normal transformation it also applies even to filters such as blurs. ie, the blur will affect the shape of the MASK ITSELF
the way to unlink or unlink is to click on the link icon that connects the mask to the image
turning on and off mask
- hold Shift key and click on the mask, a red X will appear on mask
mask properties: feather
-
bring up properties panel on mask
- double click on mask
- select mask and click the properties button
- find the feather slider and change it
mask properties: density
apply color lookup mask to subject
method 1
- add a the 'color lookup' filter
- select subject from image layer
OPT+DELETEapply mask to color lookup layerCMD+Ddeselect the selectionCMD+Iinvert the mask
method 2
- select subject
-
add a 'color lookup' filter
- this will automatically apply a mask to the selected area
decrease the opacity of the mask on the rest of the layer
- open up properties
- slide the density to be lower or higher
duplicate masks
create a new overlay layer
-
CMD+SHIFT+Ncreate new layer- choose blend mode 'overlay'
-
click the check box to "fill with overlay-neutral color 50% gray"
- overlay blend mode hides anything that is 50% gray
-
file:../_share/media/img/photoshop-beg-piximperfect/lesson4-2.png
convert the overlay layer to a smart filter
- select the overlay layer
Filter->Convert for Smart Filters-
Filter->Noise->Add Noise- set the noise to 30
-
Filter->Blur->Gaussian Blur- noise is to fine, we need to blur it
- set the blur to .8
apply the original mask to the smart filter
- OPT + DRAG
-
CMD+Iinvert the mask- apply the smart filter mostly to the background
problem copying masks
- can create a weird effect
- instead group layers
- apply mask to group
to copy a mask
- ALT + drag and drop
double masking
but the masked layer into a group and give that a mask
using image as a mask
- put a background color behind the image this will be the color that goes through the mask
- select the image
- hit the mask button
- copy another image to the clipboard
- select the mask part
-
hit OPT+click on the mask
- this opens up the mask for editing
-
paste the 2nd image into the mask area
- add black to anything you want to hide of the masked image
- click anywhere outside of the mask on the layer panel
to change highlights in mask
- select mask
- hit CMD+M
- this brings up curves